Creating a Chrome Extension
Extensions – those nifty little bits of code that add let us personalize the browsing experience, adding missing functionality like ad blocking or color eyedropper or maybe just adding a bit of spice to the web experience. I've dabbled in creating a Chrome extension before, just a little side project that brought a smile to my face every time I opened a new tab or shared my screen.
The Why Behind the Code
Previously, I had a GitHub styles colorizer extension that brought rainbow color to the monochrome world of GitHub. Over time, however, the extension lost its functionality due to GitHub's evolving styles. But lately, I've been wanting less grey from my day to day - this prompted me to revive the extension.
I've created a Chrome extension before and just installed it locally on my own laptop, but at the time I wasn't as enthusiastic about note-taking as I am now. So now that I am creating an extension for the second time, I'm going to keep my own notes on how to do it.
Disclaimer: It's worth noting that these notes focus on the process of creating an extension rather than the practicality of targeting specific CSS classes for color changes. While this project doesn't warrant ongoing maintenance and therefore I'm not going to publish the extension, the experience itself is a valuable learning opportunity.
Notes
The best source is the official Chrome Docs, but here are my notes:
- Create a manifest.json file like so:
Every Chrome extension starts with a manifest.json file, a fairly industry-standard way to provide metadata about the code. In my case, it looks like this:
{
  "manifest_version": 3,
  "name": "Colorful Github",
  "description": "Make Github Colorful",
  "version": "0.1",
  "content_scripts": [
    {
      "matches": ["https://github.com/*"],
      "js": [],
      "css": ["content.css"]
    }
  ],
  "author": "KimboTodd",
  "short_name": "Colorful Github",
  "version_name": "0.1"
}- Create the content.css file
The content.css file is where the visual styling happens. This is where you define the changes you want to apply to the appearance of a webpage. In my case, it was about infusing color into the GitHub interface. Here is a sample:
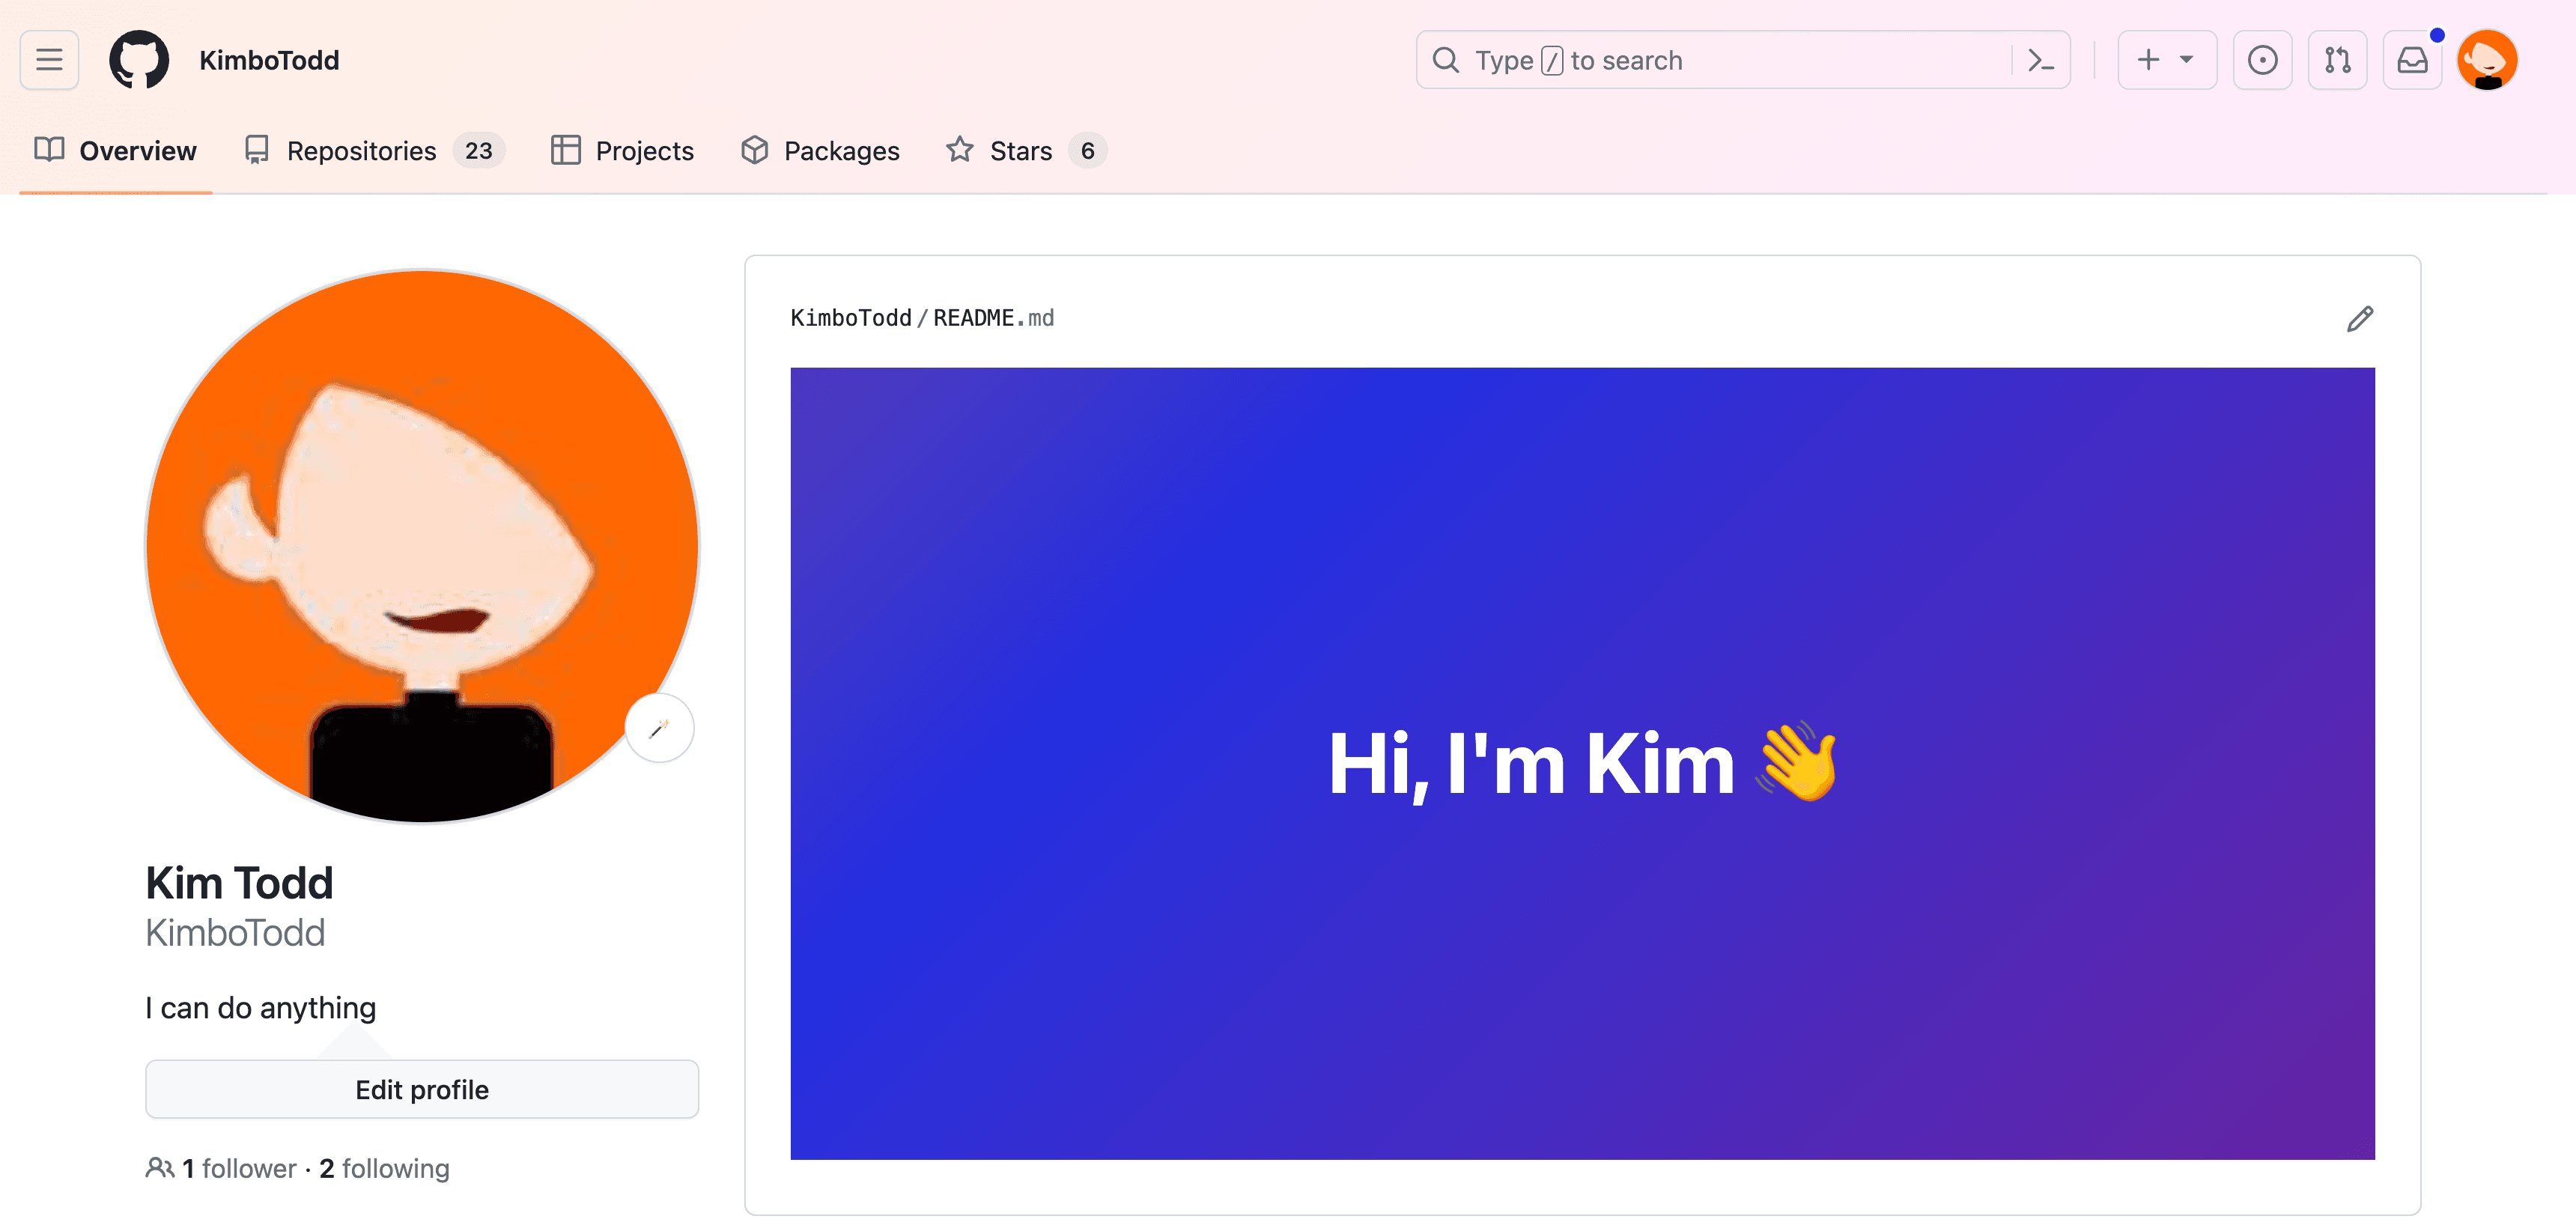
.AppHeader-globalBar,
.AppHeader-localBar {
  background: linear-gradient(
    -45deg,
    rgb(253, 235, 255),
    rgb(255, 243, 207),
    rgb(165, 255, 255)
  );
  background-size: 400% 400%;
  -webkit-animation: gradient 18s ease infinite;
  animation: gradient 18s ease infinite;
}

.Button--primary,
[class*='ButtonPrimary'] {
  background-image: linear-gradient(
    -180deg,
    #c32dd6 0%,
    #8a1d9c 90%
  ) !important;
  background-color: #8e1f9c !important;
}- Bringing the Extension to Life
Enabling Developer Mode in Chrome is a necessary step. You can do this by toggling the switch next to "Developer mode" on the Extensions page (accessed via chrome://extensions). Then, you simply click the "Load unpacked" button and select the directory containing your extension.
Parting Insights and Future Explorations
Through this experience, I reminded myself of the importance of writing down what I've learned and had a little fun along the way.
If you're enticed by the idea of adding a little color to your most visited sites, consider creating a quick little extension for fun and learning.
You can find all the files here: colorful-github